
Scanner: check-in on any phone
Scanner is the frequentix check-in app. It runs in the browser on any phone — nothing to install from an app store — and it’s built for the door: pair in seconds, scan hands-free, revoke instantly.
Where to find it: open your event, then On-site → Scanners in the sidebar.
Pairing a device
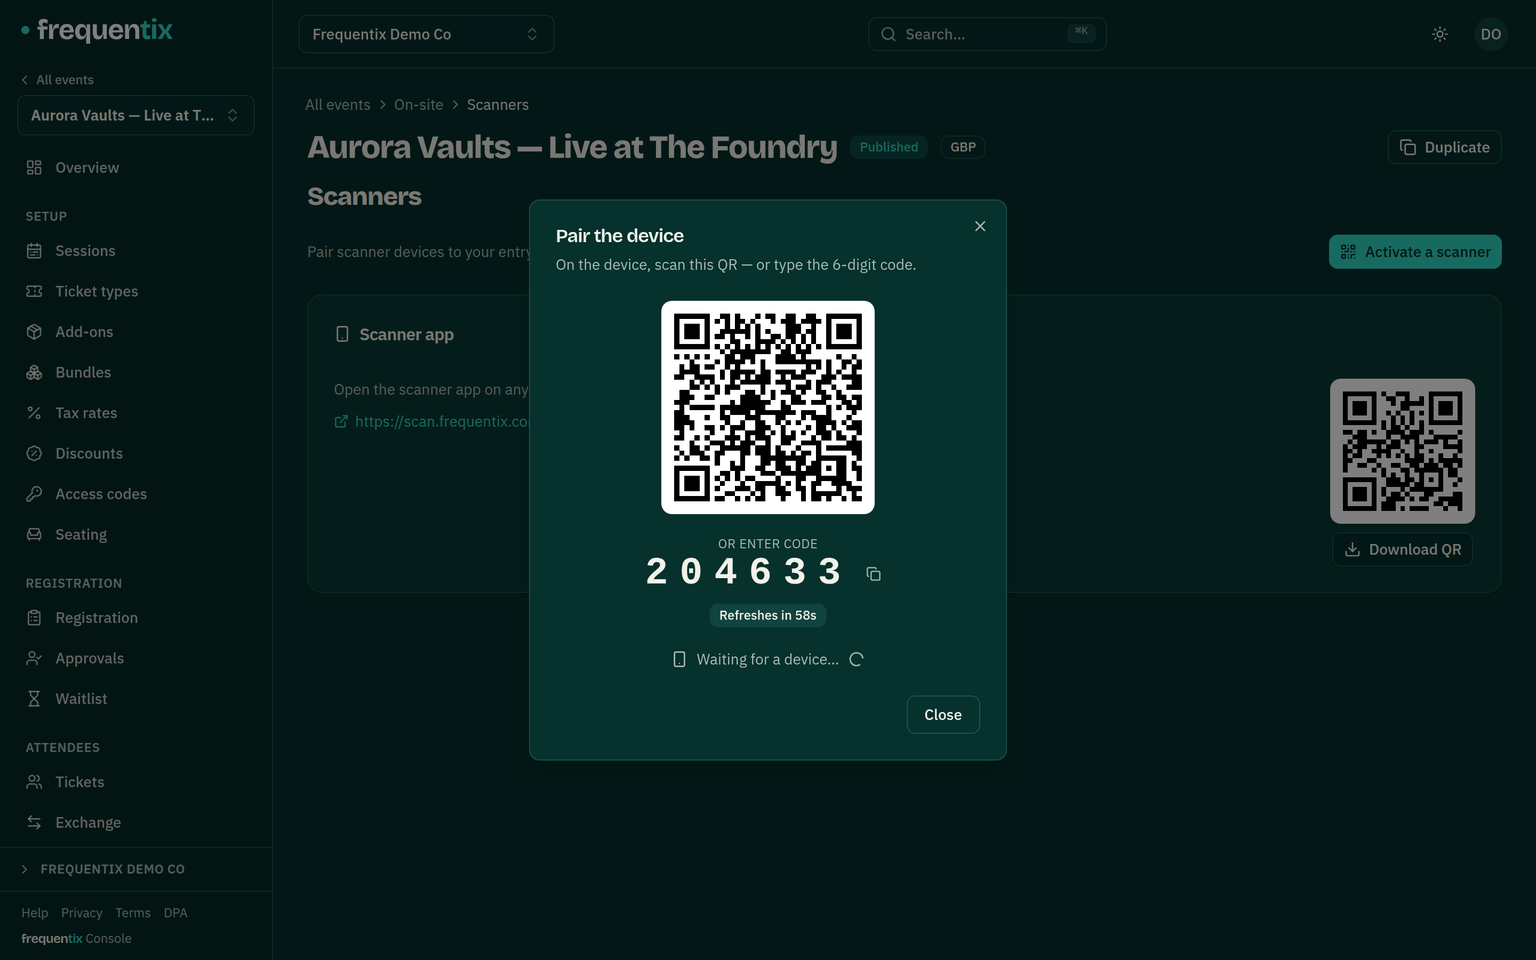
- In the console, open the event’s On-site → Scanners and create a pairing at an entry point.
- The console shows a 6-digit code and a QR. Codes rotate every 60 seconds; an unclaimed pairing expires after 10 minutes.
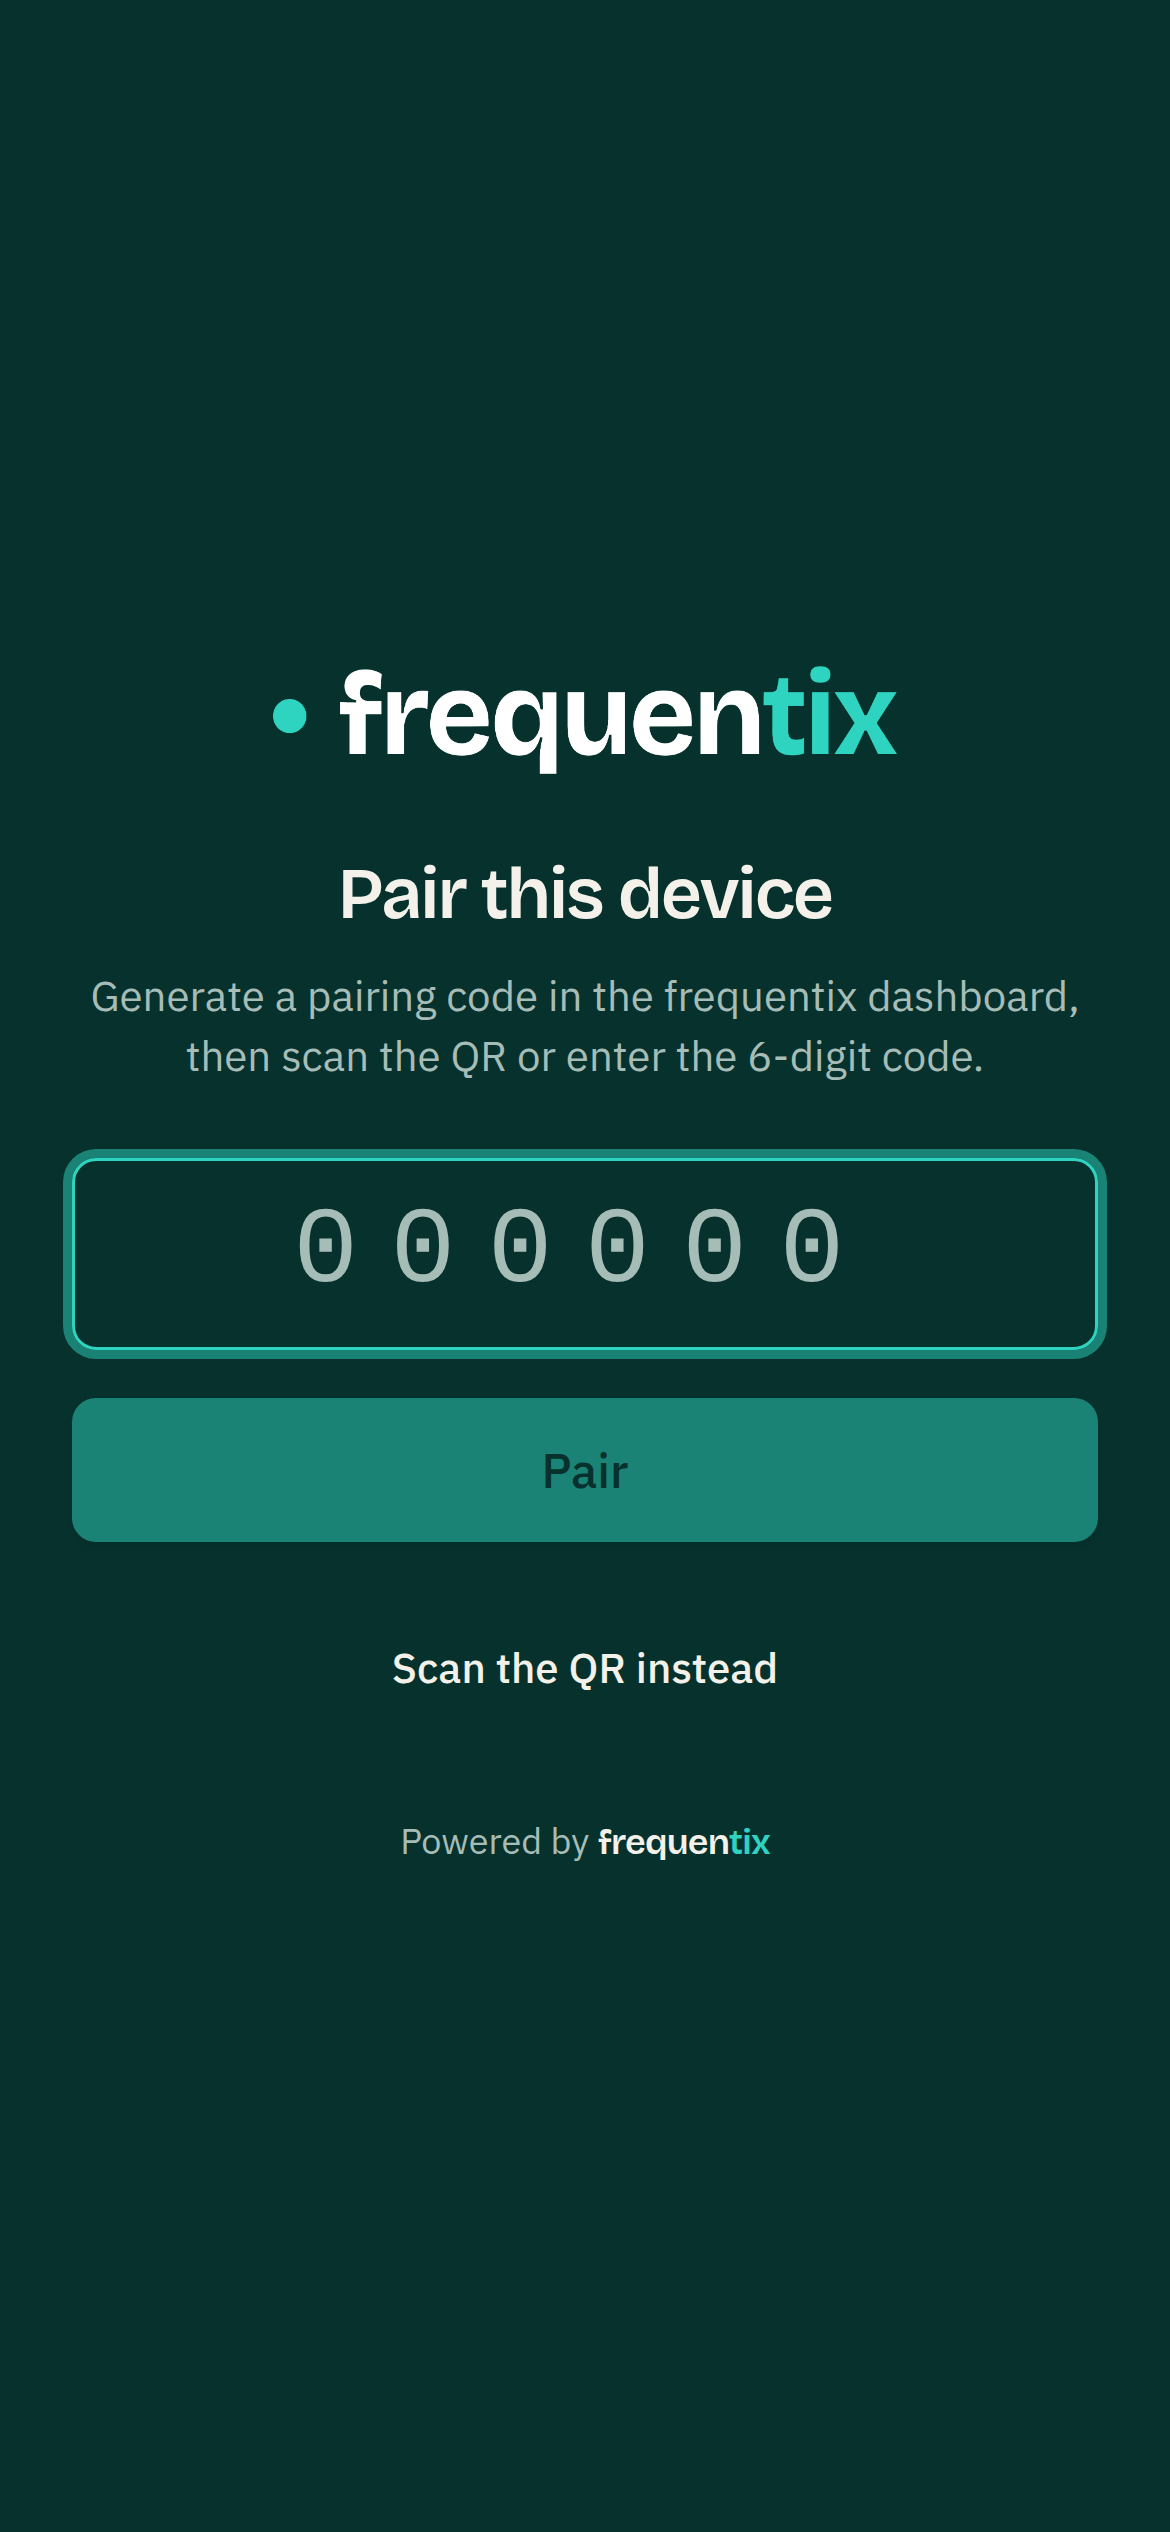
- On the door phone, open Scanner and type the code — or scan the QR, which pairs in one step. The console flips to “connected” and lists the device.
Scanning
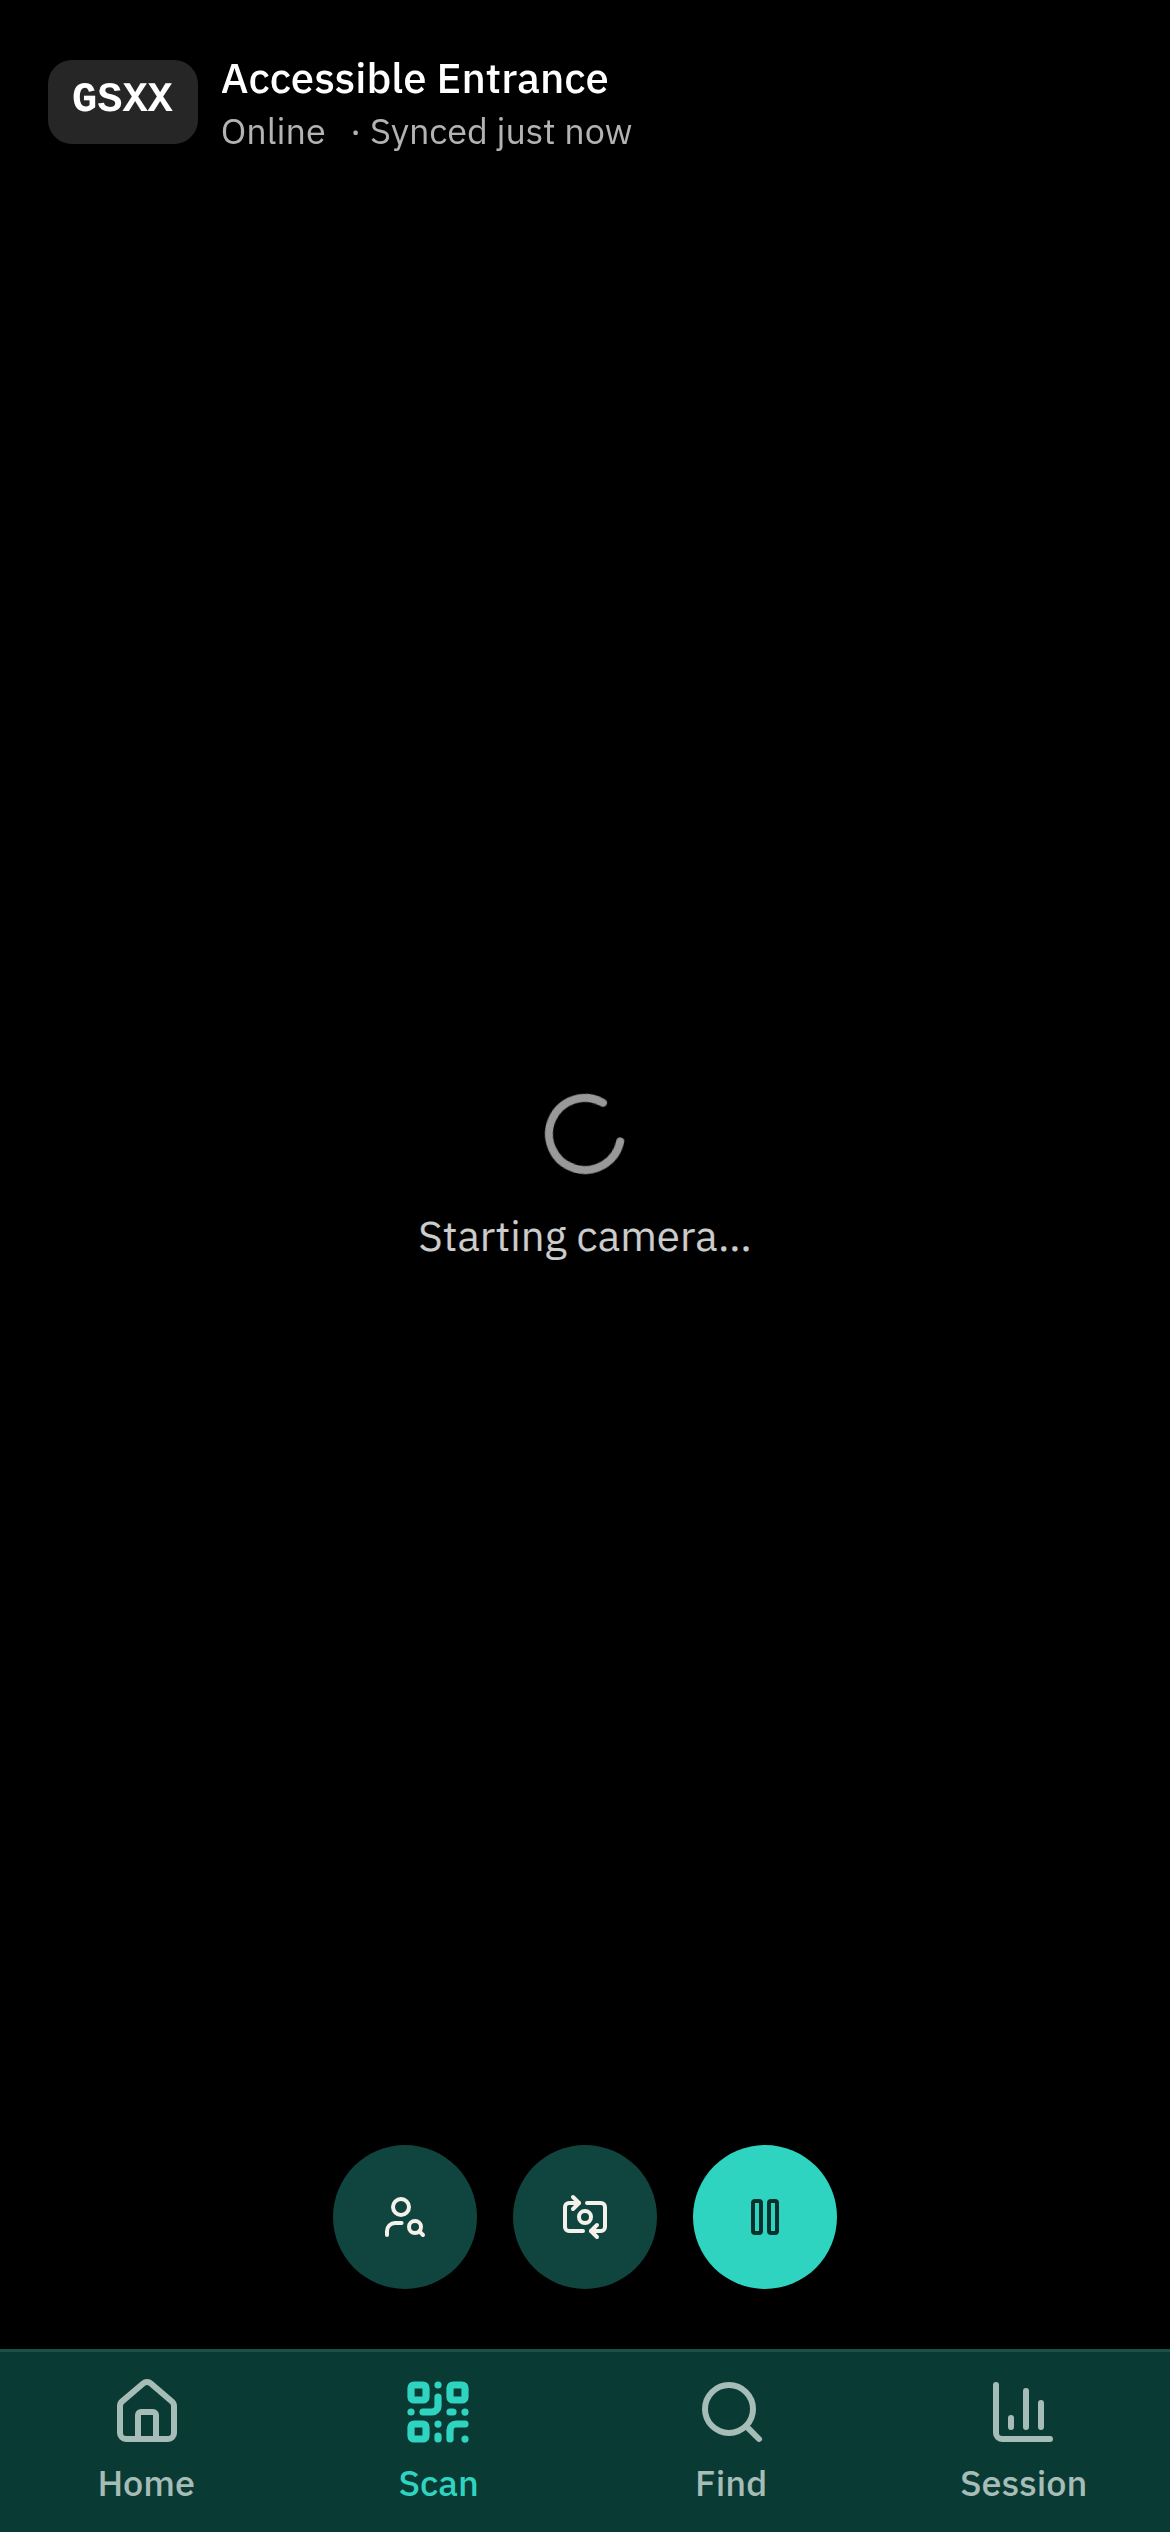
- The camera runs continuously — point it at the queue and verdicts appear; no tapping between scans, and the same code won’t double-trigger back-to-back.
- A torch toggle and camera flip cover dark doorways.
- Find an attendee is the one control that leaves the camera, and it opens Find — the same screen as the Find tab. It stays put whether the camera is running, paused, or blocked because permission was refused, so there is always a way to check someone in by hand.
- A pause button turns the camera off between waves — the screen says “Scanning paused” plainly rather than sitting on a dead feed, every control stays tappable, and the pause survives switching tabs or reloading. Resuming shows “Starting camera…” until the feed is live again.
- The lane pins the device to its event and its allowlist — see Entry points & lanes.
Verdicts
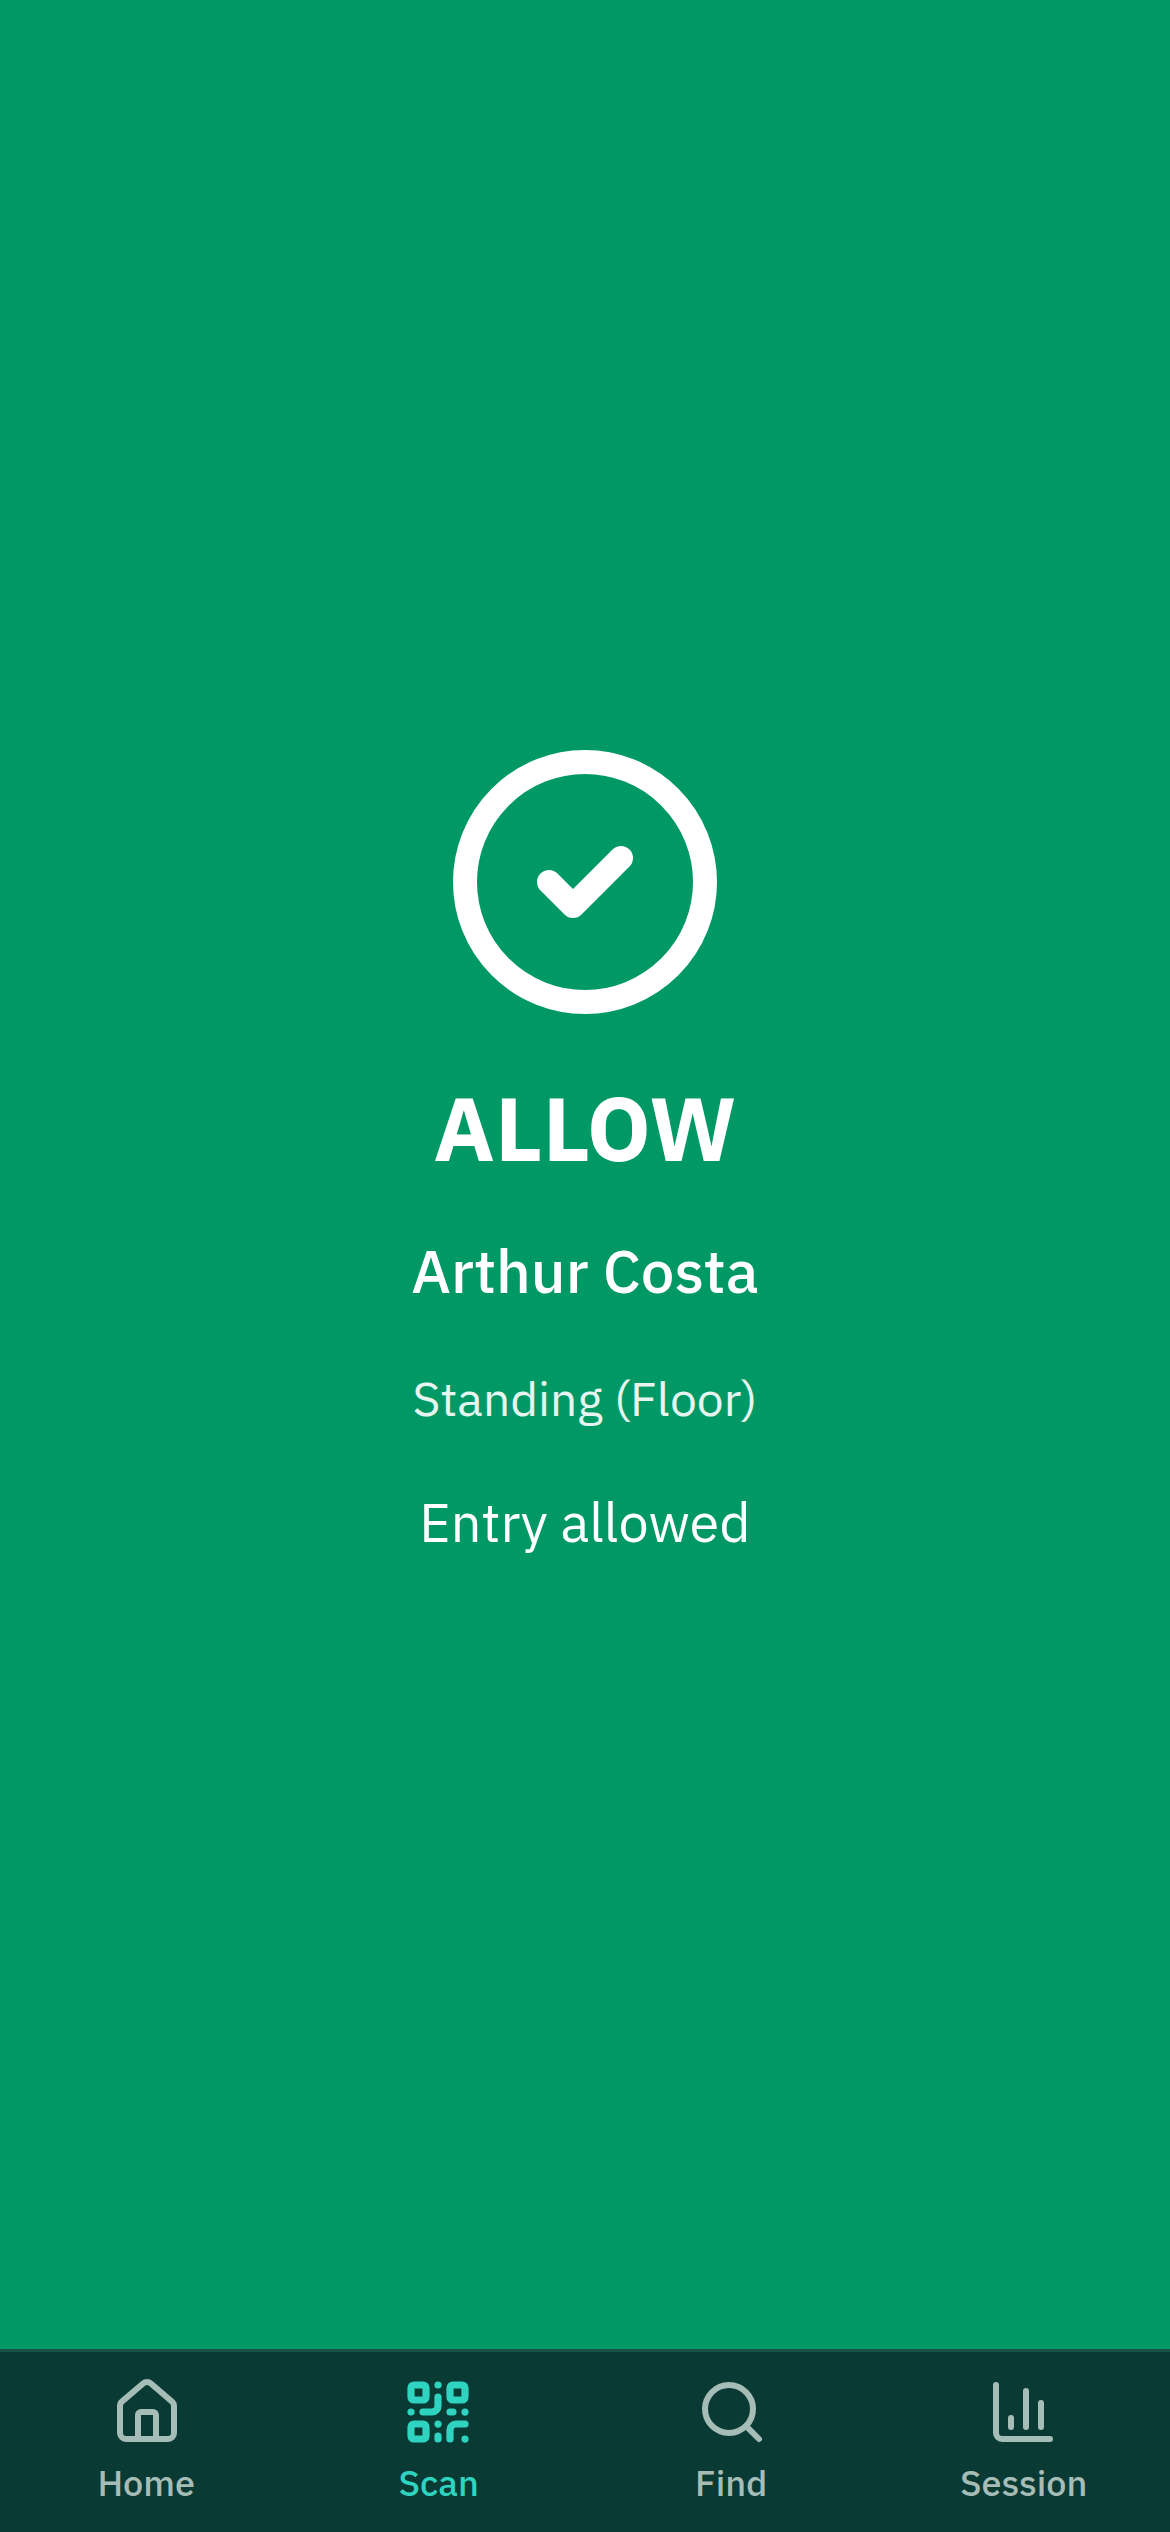
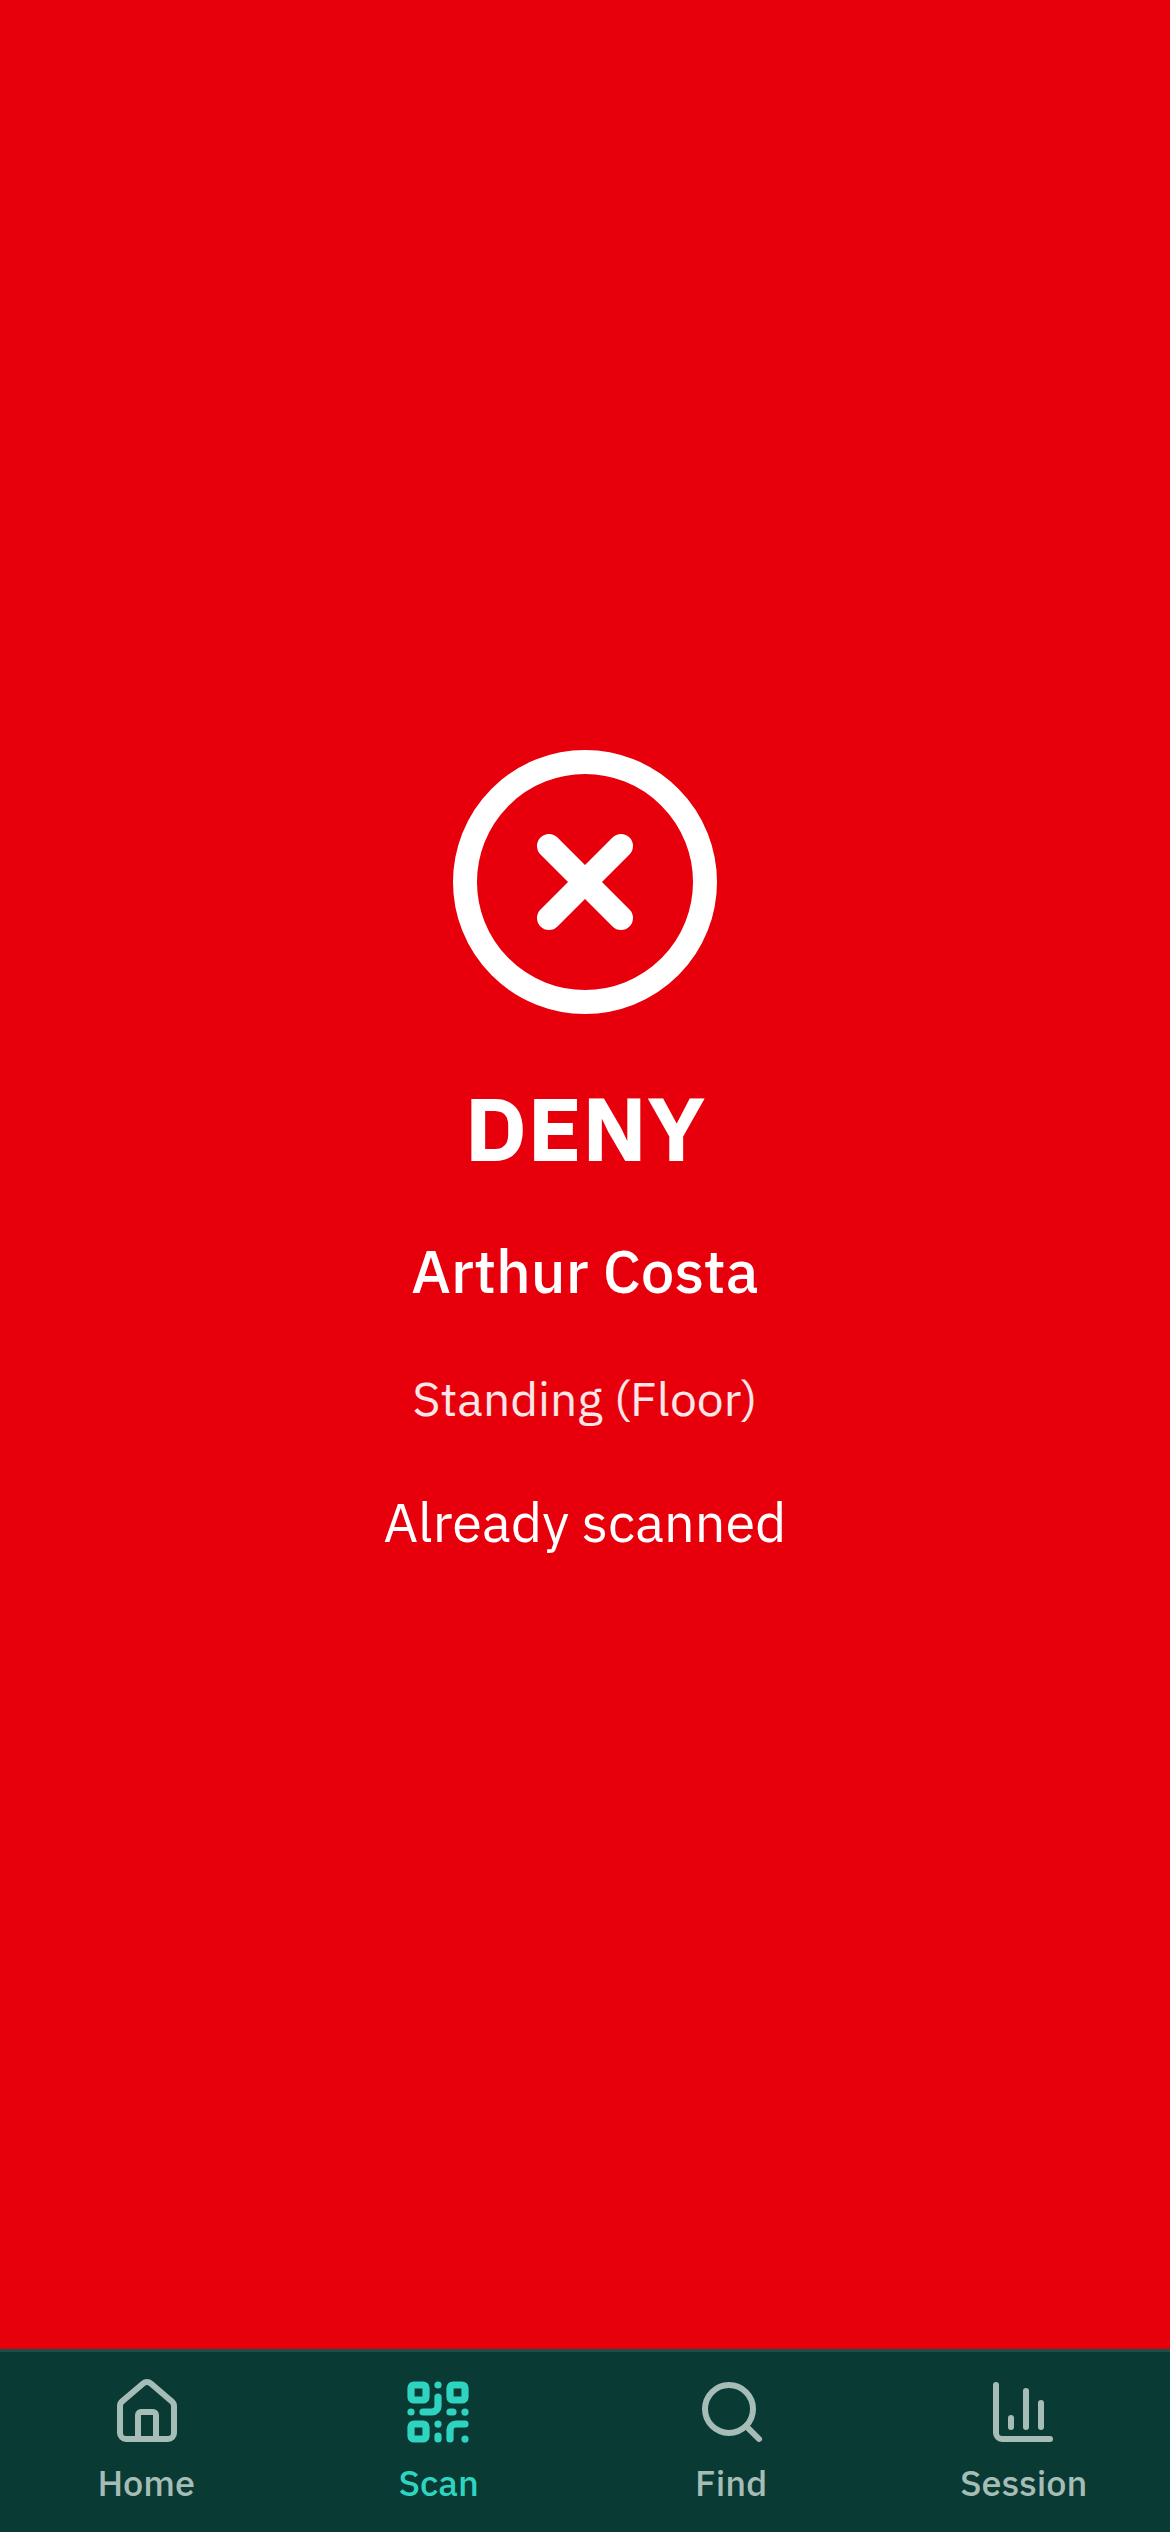
Every scan answers with a full-screen verdict readable at arm’s length in a dark doorway: green ALLOW or red DENY, with the attendee’s name, their ticket type, and — when denied — the reason: already scanned (with when, on types set to scan once), wrong entry point, outside the date’s admission window, outside the ticket type’s own scanning window, cancelled or refunded, or a cancelled date. On seated events the verdict shows the seat label, so staff can point the way.
Finding someone without a QR
For the buyer whose phone died, Find — reached from the scan screen’s one non-camera button, or its own tab — opens a search box. Type two or more characters of a name or email, tap the person to confirm, and check them in; it records exactly like a camera scan, and the list shows who is already in so you don’t admit someone twice. Search returns a short list rather than a roster, so the door keeps moving without a full attendee list ever sitting on the device.
Behind it, Enter reference instead takes a typed ticket reference — the fallback for a screen too cracked to scan and a name nobody can spell. “Search by name instead” goes back.
Revoking a device
Every paired device is listed in the console with its tag. Pressing Revoke kills the device’s access immediately — the next request it makes is refused, and it wipes and returns to the pairing screen. The one caveat is the flip side of offline scanning: a device with no signal makes no request, so it keeps admitting from its cached pack until it reconnects. An unused pairing expires by itself eventually anyway.
Getting help from the door
Get help on the Session tab sends a request to your own team, with a screenshot if the person at the door wants to attach one and the device's details attached automatically. It arrives under Help → Support tickets in the console; the device checks for the reply while the case is open and shows the conversation on the same screen. Escalate it from the console if it is one for frequentix.