
Create your first event
Creating an event takes under a minute: a short dialog collects the essentials, and everything else — tickets, questions, seating, the door — is configured afterwards in the event’s own workspace.
Creating the event
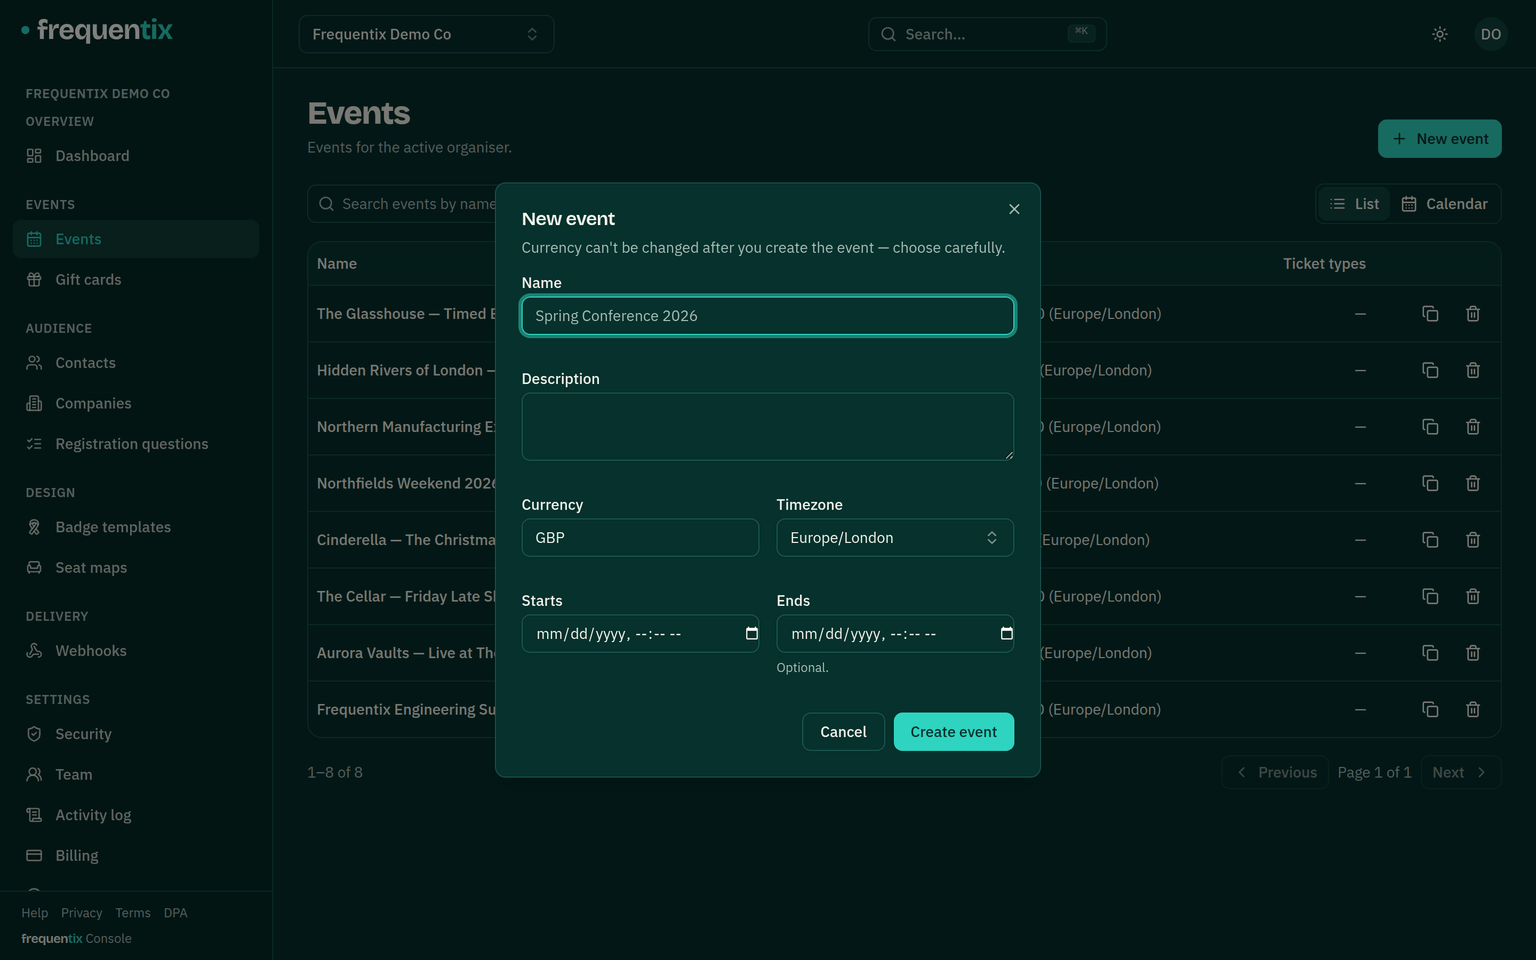
From the Events list, New event opens a dialog asking for the name, a description, the dates, the timezone and the currency. That’s deliberately all — you get a draft event immediately and shape it from there, rather than committing to twenty decisions up front.
Two of those choices matter more than they look. Every date and time the event ever shows — to buyers, on tickets, at the door and in exports — is displayed in the event’s timezone, so pick the one the event actually happens in. And every price on the event is in a single currency: you choose it here, and it can’t be changed once the event exists.
The event workspace
Opening an event lands on its overview — dates, venue, storefront link, branding. The sidebar changes with you: the event’s name appears at the top, and beneath it the six areas that belong to this event alone.
- Setup — ticket types, add-ons, tax rates, discounts and access codes, sessions and seating.
- Registration — the question wizard, approvals and the waitlist.
- Attendees — tickets, orders, invoices, companies and imports.
- Comms — emails and campaigns, plus per-event content overrides.
- On-site — entry points, scanners and Box Office.
- Insights — reports and attribution.
Areas that belong to a paid plan appear with a lock rather than disappearing, so you can always see what exists.
Your organiser-wide menu does not go anywhere while you are in an event. It sits below the event’s areas, under your organiser’s name — collapsed, so the event you are working on leads, but one click from Contacts, Seat maps, Badge templates and Settings. That is why articles here name a place in two parts: Setup → Ticket types belongs to one event, Settings → Team belongs to your organisation, and both are reachable from wherever you happen to be standing.
Can’t find something? Press ⌘K (or Ctrl+K) anywhere in the console and type the name. It searches both menus, and tells you which area each result belongs to — so if a destination lives inside an event, it will ask you which event you meant.
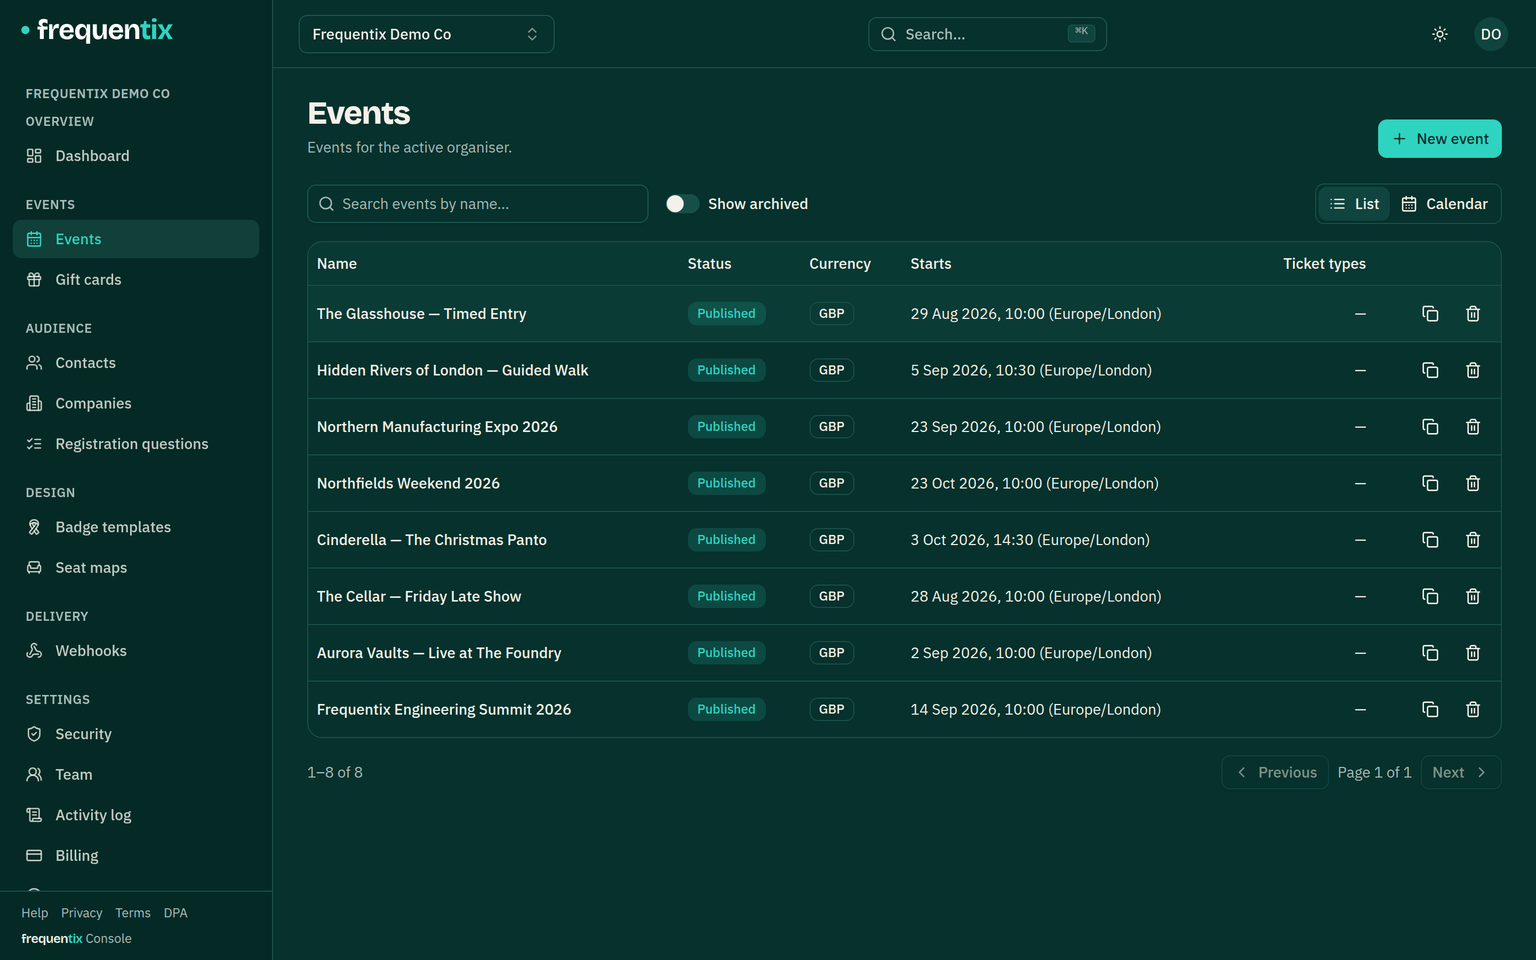
Once you are inside an event, the picker at the top of the sidebar moves you to another one without coming back here — and it keeps you on the same area, so comparing two events’ ticket types is two clicks.
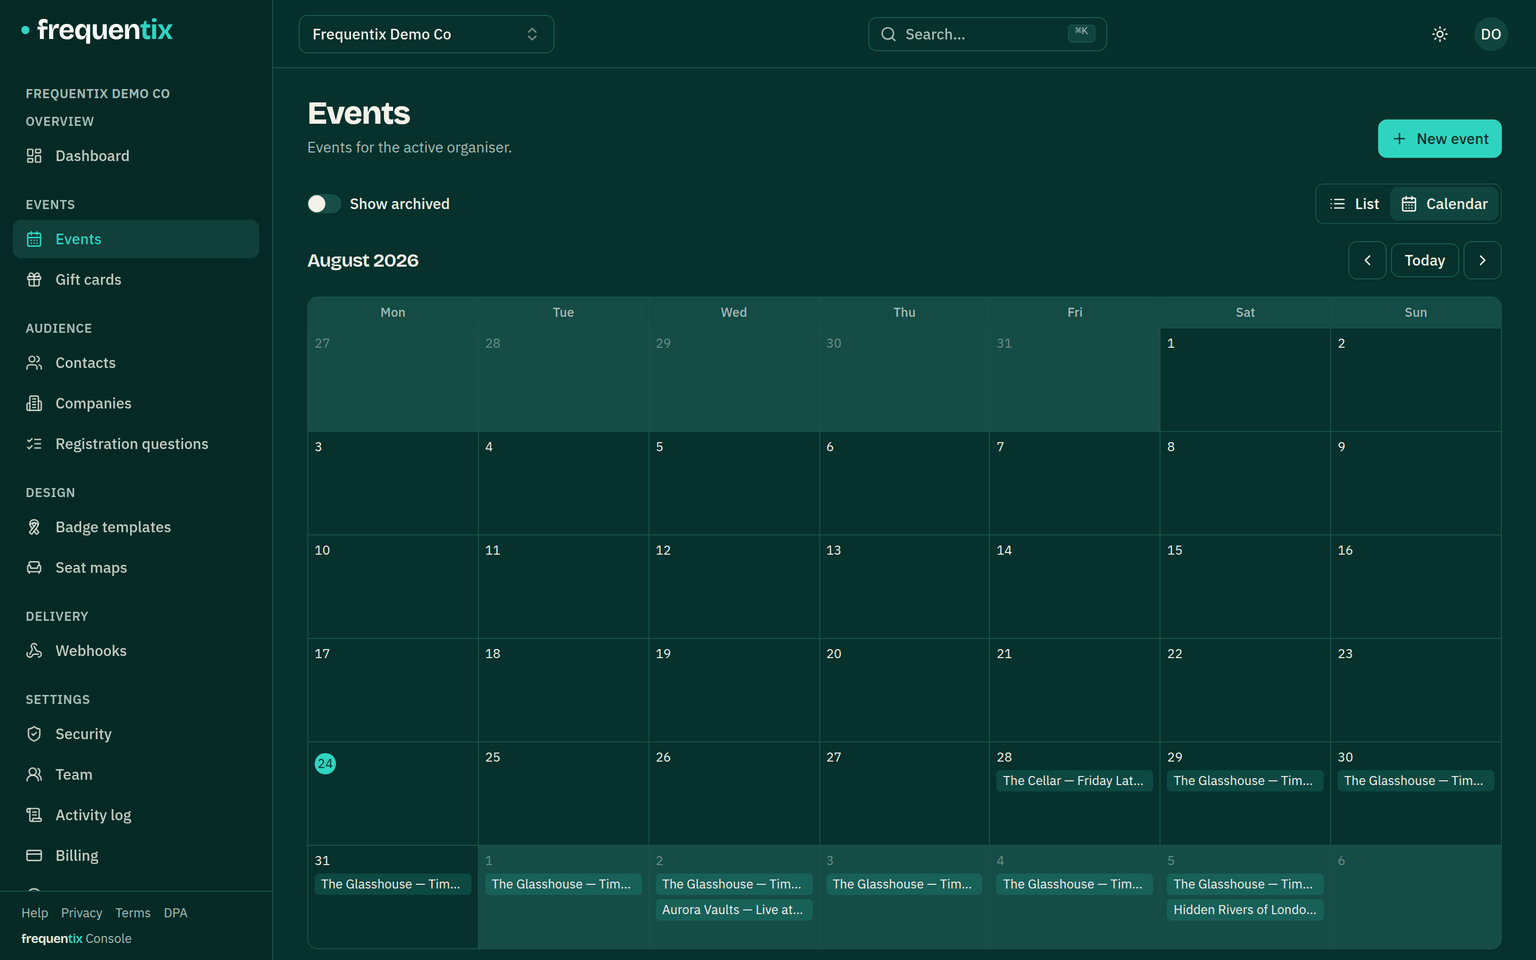
The list has a Calendar view as well, which lays your events out by month — useful the moment you are running more than a handful, or a run of dates. An event that runs on several nights shows on each of them rather than filling every day in between, and each date reads in that event’s own timezone, so a London night is a London night wherever you are sitting. On a phone the calendar becomes a date picker with the day’s events listed beneath it.
Online events
An event held over a link rather than at a venue is flagged Online event on the overview’s Location card. Buyers see “Online event” in place of a venue on the event page, and search engines list it as an online event too.
Paste the joining link into the same card. It is private: it rides each ticket holder’s confirmation email and any reminders you have set — which is where attendees find it on the day — and it never appears on the public event page. If the meeting room doesn’t exist yet, publish anyway: the emails say the link is on its way, and every reminder sent after you add it carries it.
Draft, published, archived
- A draft event sells nothing and has no public page — configure at leisure.
- Publishing makes the storefront page live; sales follow each ticket type’s own on-sale window. One prerequisite: a resolved support contact (Settings → Support contact, overridable per event) — buyers must always have someone to reach, so an event can’t go live without one.
- Archiving retires a finished event from the working list; its records, reports and documents remain, and buyers keep access to the tickets and documents they already hold. Restoring an archived event counts against the Free plan’s one-live-event limit — on Free, archive the current one first.
Duplicating an event
Duplicate (on the Events list) deep-copies an event’s whole configuration — ticket types, add-ons, questions, discounts, seating, branding — into a fresh draft with counters reset and dates shifted. It’s the fastest way to run the same show again; orders, tickets and money history are never copied — they stay with the original. You choose per category what carries over, and how dates behave: shifted with the new event, kept as they were, or cleared to set fresh.